
Villa Painting Dubai
Handyman Service Dubai provides professional villa painting in Dubai for occupied and vacant villas, covering interior walls, ceilings, exterior façades, doors, frames and other painted surfaces. We paint occupied and vacant villas, covering interior walls, ceilings, exterior façades, boundary walls, doors, frames, trims, gates and other painted surfaces.
Every villa has different requirements. Some properties only need a colour refresh, while others require crack filling, peeling-paint removal, sanding, primer and damaged-plaster correction before new paint can be applied. Our painters inspect the surfaces first and plan the work according to the villa’s size, condition, access and selected paint finish.
You can book painting for one room, selected interior areas, the exterior only or a complete villa repaint. Low-odour and low-VOC paint options can also be discussed for occupied homes, bedrooms, children’s rooms and properties with pets.
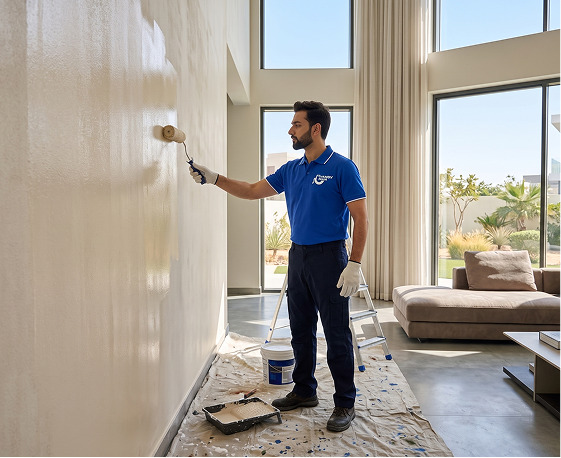
Complete Villa Painting Services in Dubai
Our villa painting service covers preparation, protection, paint application, inspection and final touch-ups. The scope can be adapted to a newly rented villa, family home, landlord property, renovation project or move-out handover.
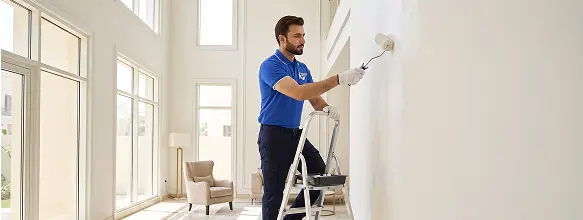
Complete Villa Painting Services in Dubai
- Complete interior villa painting
- Exterior façade painting
- Bedroom and living-room painting
- Majlis and dining-room painting
- Kitchen and bathroom painting
- Ceiling painting
- Staircase and hallway painting
- Feature-wall painting
- Boundary-wall painting
- Balcony and terrace painting
- Door and frame painting
- Skirting and cornice painting
- Wooden-surface painting
- Metal gate and railing painting
- Old paint removal
- Crack and nail-hole filling
- Putty application
- Sanding and smoothing
- Primer application
- Stain treatment
- Colour matching
- Move-in painting
- Move-out repainting
- Final snag inspection and cleanup
The final quotation should clearly state the included rooms, surfaces, paint brand or specification, number of coats and preparation work.
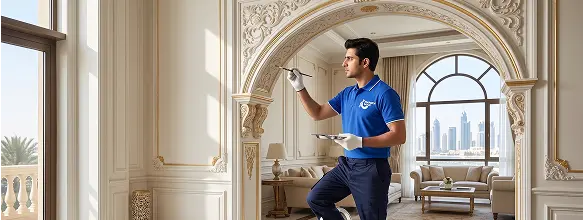
Interior Villa Painting
Interior villa painting can improve the appearance, brightness and overall feel of a home. A lasting finish, however, depends on what happens before the first coat is applied.
Walls may contain dust, scuff marks, nail holes, loose paint, stains or uneven repairs. These defects should be treated before painting, as new paint often makes poor preparation more visible rather than hiding it.
- Checking the condition of walls and ceilings
- Moving or covering furniture
- Protecting flooring, switches and fixed fittings
- Removing loose or peeling paint
- Filling holes and minor cracks
- Sanding repaired and uneven areas
- Applying primer where required
- Painting walls, ceilings and trims
- Checking coverage after drying
- Completing touch-ups and cleanup
Interior villa painting is available for individual rooms or the full property.
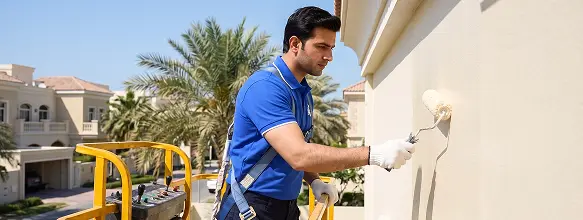
Exterior Villa Painting
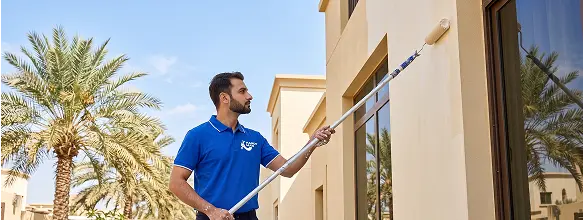
Exterior paint is exposed to stronger conditions than paint inside the home. Direct sunlight, ultraviolet exposure, heat, airborne dust, humidity, irrigation water and seasonal weather can gradually cause fading, chalking, cracking and peeling.
- Main villa façade
- Side and rear elevations
- Boundary walls
- Entrance structures
- Balcony walls
- Terrace walls
- Exterior ceilings
- Columns and arches
- Architectural mouldings
- Service areas
- Outdoor staircases
- Gate structures
- Decorative features
The surface should be checked for loose paint, cracks, damaged plaster, moisture marks and white mineral deposits before a new coating is applied. Exterior painting may require ladders, mobile access towers or other suitable access equipment, depending on the villa height and layout.
Full Villa Repainting
A complete repaint is suitable when several rooms, ceilings and exterior areas need attention at the same time.
- All interior walls
- Interior ceilings
- Staircases and hallways
- Doors and frames
- Skirting boards
- Exterior walls
- Boundary walls
- Balconies and terraces
- Gates and railings
- Decorative trims
- Selected wood and metal surfaces
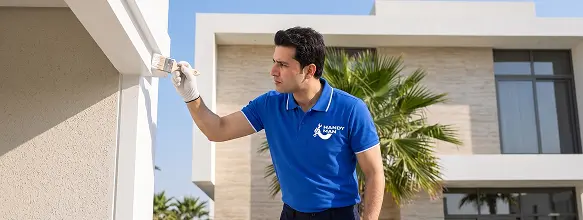
The project can be divided into planned working zones. This helps protect completed areas and allows occupied villas to remain more manageable during the work.
Painting an Occupied Villa
Painting a furnished villa requires more coordination than painting an empty property. Furniture, electronics, curtains, carpets and personal belongings need protection before sanding or painting begins.
For occupied homes, the work can be organised room by room. This allows residents to continue using other parts of the villa while one area is being completed.
- Agreeing on the room sequence
- Moving lightweight furniture
- Covering large furniture
- Protecting floors and carpets
- Masking switches and fittings
- Using low-odour paint where requested
- Providing ventilation during drying
- Cleaning each area after completion
Children and pets should be kept away from active work areas, open paint containers and wet surfaces. If furniture requires repair after renovation work or before repainting, you can also explore our furniture repair service in Dubai .
Low-VOC and Low-Odour Villa Painting
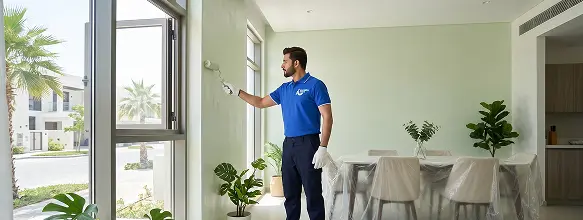
Some paint products release a lower level of volatile organic compounds than traditional alternatives. Low-VOC and low-odour paints may be useful for bedrooms, children’s rooms, occupied villas and households where reducing strong paint smells is important.
Available options depend on the selected brand, product range, colour and finish.
Low-VOC does not mean that normal precautions can be ignored. Rooms should still be ventilated, product instructions should be followed and sufficient drying time should be allowed before normal use resumes.
When requesting this option, ask for the product specification rather than relying only on general terms such as “green” or “eco-friendly.”
Painting an Empty Villa
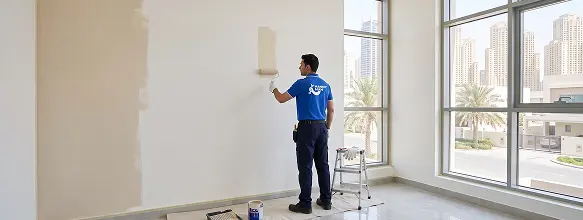
A vacant villa is generally easier to paint because walls, ceilings and floors are more accessible. Painters can often work across several rooms at the same time without moving furniture between areas.
- Recently rented properties
- Homes before move-in
- Properties between tenants
- Villas being prepared for sale
- Newly purchased homes
- Renovated properties
- Landlord repainting
- Property handovers
Painting before furniture delivery also reduces the risk of dust and paint marks on belongings.
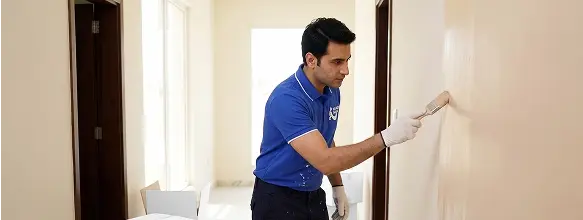
Move-In Villa Painting
Painting before moving into a villa allows you to choose the colours and finishes without working around furniture or packed boxes.
- Covering previous tenant colours
- Repainting walls in neutral shades
- Bedroom colour changes
- Children’s room painting
- Feature-wall creation
- Ceiling refresh
- Door and frame touch-ups
- Stain treatment
- Minor crack repair
- Exterior entrance painting
The painting should ideally be completed before final cleaning, curtain installation and furniture delivery. After painting is completed and the villa is ready for occupation, our furniture assembly service in Dubai can help with furniture setup and installation.
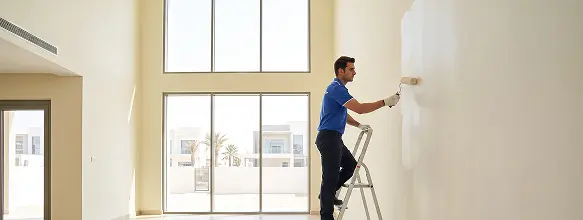
Move-Out Villa Painting
Tenants may need to restore walls before handing a villa back to the landlord. The exact requirement depends on the tenancy agreement and the property’s condition.
- Filling nail and screw holes
- Removing wall stickers
- Covering scuff marks
- Correcting visible touch-up patches
- Repainting dark or custom colours
- Restoring neutral shades
- Painting high-traffic areas
- Repairing minor wall damage
- Refreshing doors and frames
A complete repaint may not be necessary when the damage is limited to selected walls. An inspection can help define the correct scope.
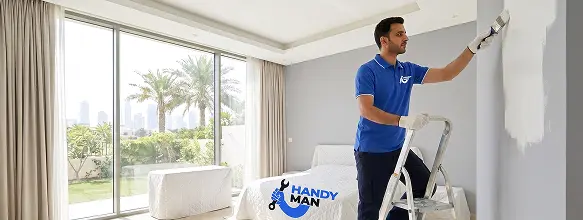
Villa Wall Painting
Walls are the main visible surfaces inside a villa. Their condition affects how smooth and even the final finish will appear.
- Hairline cracks
- Nail and drill holes
- Peeling paint
- Flaking paint
- Powdery surfaces
- Uneven touch-ups
- Furniture scuffs
- Children’s drawings
- Grease marks
- Water stains
- Dark existing colours
- Roller marks
- Damaged corners
- Loose plaster
- Uneven putty
These problems should be repaired with suitable materials before repainting. Painting directly over loose paint, dust or dampness can lead to early coating failure. Before or after painting, many homeowners also require wall fixtures and decoration installation. Explore our wall mounting services in Dubai for shelves, mirrors, frames and other wall-mounted items.
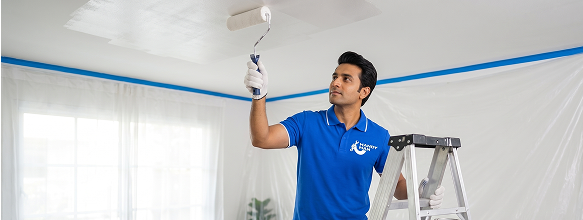
Ceiling Painting
Villa ceilings can become dull, stained or uneven over time. A fresh ceiling finish can make rooms appear brighter and cleaner.
- Standard flat ceilings
- Gypsum ceilings
- Tray ceilings
- Double-height ceilings
- Staircase ceilings
- Decorative ceiling borders
- Bathroom ceilings
- Kitchen ceilings
- Balcony ceilings
A water stain should not simply be covered with normal paint. The leak source must first be repaired, the area must dry and a suitable stain-blocking primer may be required before repainting. If ceiling fixtures also need replacement after painting, our ceiling fan installation service in Dubai can help with ceiling-mounted appliances.
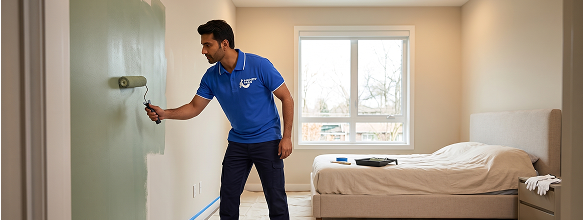
Bedroom Painting
Bedroom painting can include walls, ceilings, feature walls, doors, frames, skirting and selected decorative trims.
- Calm neutral colours
- Warm shades
- Children’s room colours
- Washable finishes
- Low-odour paint
- Feature walls
- Matt or eggshell finishes
- Easy-to-clean surfaces
Colour samples should be viewed in both daylight and artificial light because the same shade can appear different throughout the day.
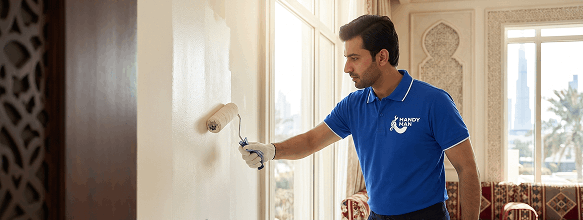
Living Room and Majlis Painting
Living rooms and majlis areas often contain large walls, tall ceilings, decorative mouldings, columns and strong natural light. These features make clean edges and even coverage especially important.
- Main walls
- Double-height walls
- Ceilings
- Columns
- Arches
- Niches
- Cornices
- Feature walls
- Staircase connections
- Door and window surrounds
A sample patch can help confirm the colour and finish before painting the complete area. For decorative lighting upgrades in painted living rooms, dining areas and majlis spaces, see our chandelier installation service in Dubai .
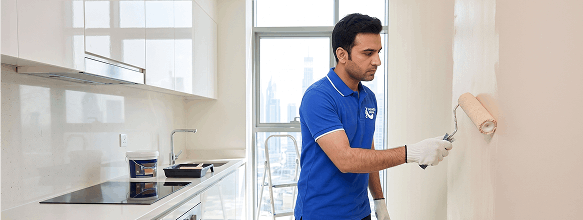
Kitchen and Bathroom Painting
Kitchens and bathrooms experience more moisture, heat, grease and regular cleaning than bedrooms and living rooms.
- Condensation
- Grease
- Mould marks
- Peeling paint
- Dampness
- Water damage
- Cracked sealant
- Weak ventilation
Washable or moisture-resistant paint may be suitable for some kitchen and bathroom areas. Paint is not a replacement for leak repair, waterproofing or ventilation improvement. Active moisture problems should be corrected first.
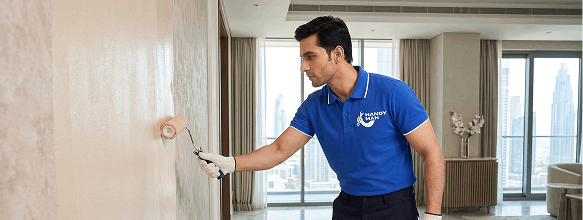
Feature Wall Painting
A feature wall adds contrast without changing the colour of the entire room.
- Deep accent colours
- Warm neutral shades
- Colour blocking
- Two-tone walls
- Geometric designs
- Textured finishes
- Decorative borders
The colour should work with the room’s flooring, furniture, lighting and fixed finishes. Feature walls work best when combined with suitable room lighting. For lighting upgrades after painting, explore our lighting installation service in Dubai .
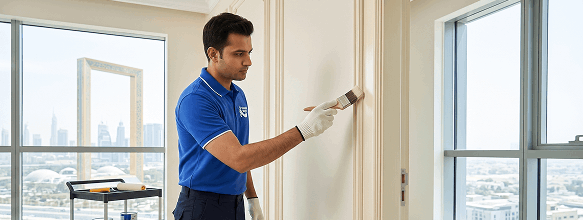
Door, Frame and Skirting Painting
Wooden and previously coated surfaces require different preparation from normal plastered walls.
- Cleaning
- Removing loose coating
- Sanding
- Filling dents
- Applying a compatible primer
- Painting with a suitable finish
- Internal doors
- Main entrance doors
- Door frames
- Skirting boards
- Window trims
- Wooden mouldings
- Handrails
- Decorative wood panels
Gloss, satin or specialist wood coatings may be selected depending on the existing surface and desired finish. For damaged wooden features, custom woodwork or repairs before painting, see our carpentry services in Dubai .
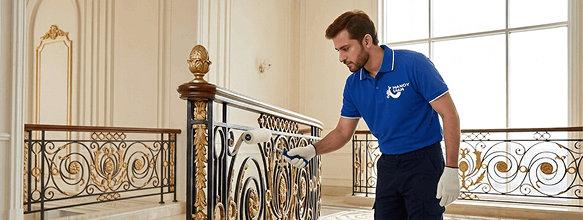
Gate and Railing Painting
Outdoor metal surfaces can develop rust, peeling and fading.
- Main gates
- Pedestrian gates
- Balcony railings
- Stair railings
- Metal frames
- Decorative grilles
- Outdoor metalwork
Loose rust and failing paint should be removed before primer and finishing coats are applied. Damaged, heavily corroded or unstable metal may need repair before painting.
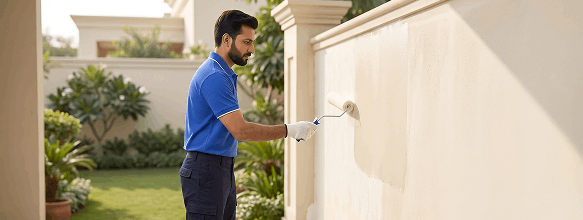
Boundary Wall Painting
Boundary walls are exposed to sun, dust, irrigation water and ground moisture. These conditions can cause paint to fade, bubble or separate from the surface.
- Peeling paint
- Chalking
- Cracks
- Damp patches
- Salt deposits
- Irrigation damage
- Loose plaster
- Previous coating failure
A compatible masonry primer and exterior coating should be selected according to the wall condition.